
These little beauties are my best sellers by far, and very apt for all the stormy weather just now!
Snap a pair for yourself here in my Etsy shop.
x0x


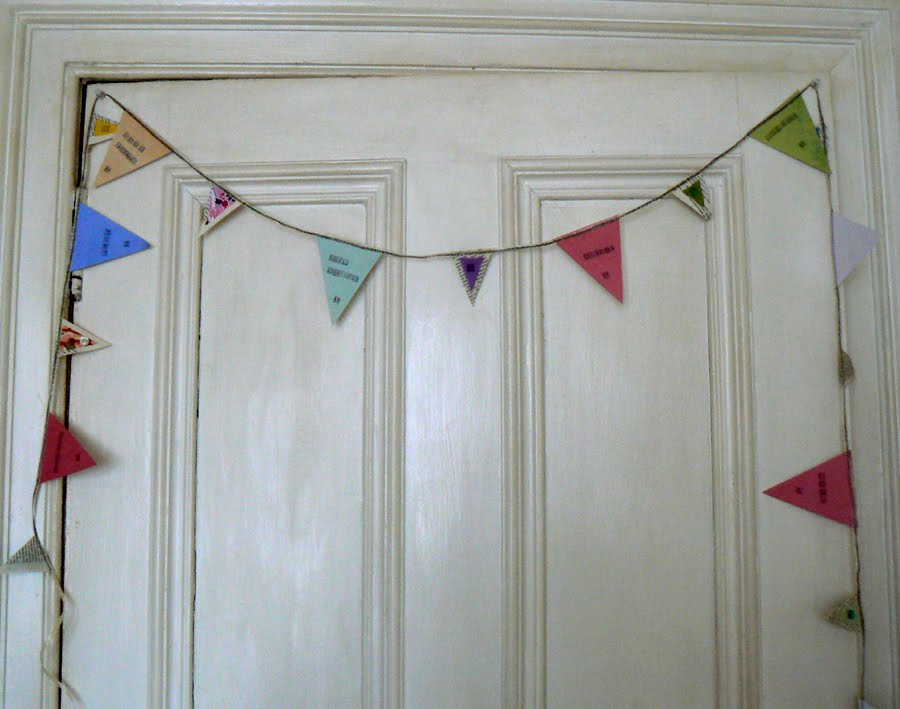 For todays ::day of diy:: I'm going to show you a little tutorial on how I made my Mum a paper garland for Mother's Day. My Mum has a cubby hole kind of room for her study that gets the sun all day. A couple of weeks ago she gutted it out, painted the walls and put in a lovely oaty coloured woven carpet. So I thought something jolly and bright for the room would be a great idea.
 1. Start off by cutting out your flag shapes. I went for large and small triangles. I had some lovely soft pastel coloured paper so I decided to use them for the big ones. I decided to use recycled book pages for the small ones because it gives the garland a bit of depth and the text gives the paper some texture.
 2. Once you have all your triangles cut out, lay them out on your working surface. I then started to cut small triangle shapes from my fabric scrap bag and laying them onto the book page triangles. I decided these ones would be the ones I woule embellish, and keep the large pastel ones to stamp on.
 3. Now pva glue the fabric squares to the book page triangles, the smaller of your 2 sizes of triangle.
 4. Then start to add your little decorative bits and pieces. I put a small dollop of pva glue on this piece of fabric and added a soft pink button and a collection of purple seed beads. The glue dries and holds them in place very well.
 5. Now get out your ribbon or raffia and cut the length you are looking for. I went for 3 metres. Set your sewing machine to a zig zag stitch. This will grip the ribbon/ raffia and the paper the best.
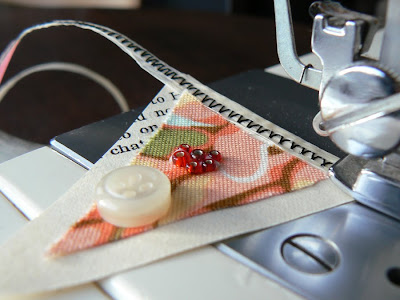 6. I started to sew just at the first triangle I wanted on my garland and then carried on right till I reached my last flag. I roughly measured the gaps in between each flag, mine were approx 10cm gaps. This is also down to you, depending on how many flags you have and how long you want your garland to be.
 7. Now to the fun bit! Lay out your stamps and get stamping. I went for little daily-do's, have faith, dance, dig in the garden, sit in the sunshine, doodle your dinner.....
You can stamp or write any thing you like. It could be a long love letter, someone's name, lyrics from a song.

 I'd love to see your versions of this so please let me know if, sorry when you get round to making yours!
xxx


I have used some decorated chopped tomatoe cans as props. Have a look tomorrow and see if you can spot them. And I'll give you a little :: day of diy :: on how to make your own later in the week.
I'm also thinking about what creations would be perfect for my Mum for Mother's Day this year. She shares my love of birds, so I'm thinking something sewn and bird like.


